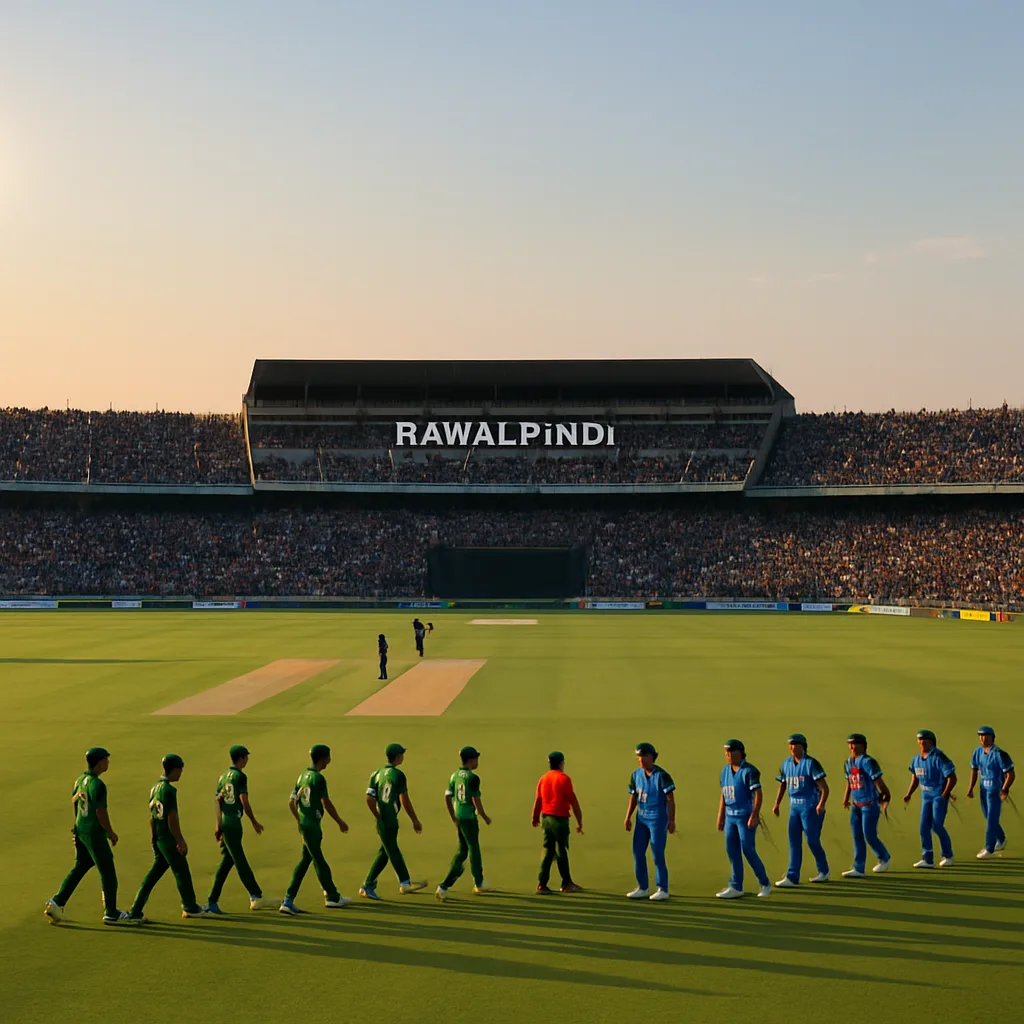
South Africa vs Australia - Second Test day three highlights
This article was drafted with Citeya, an AI writing tool, from published reports and is published under Kishan Prajapat's name. See our editorial standards or report an error.
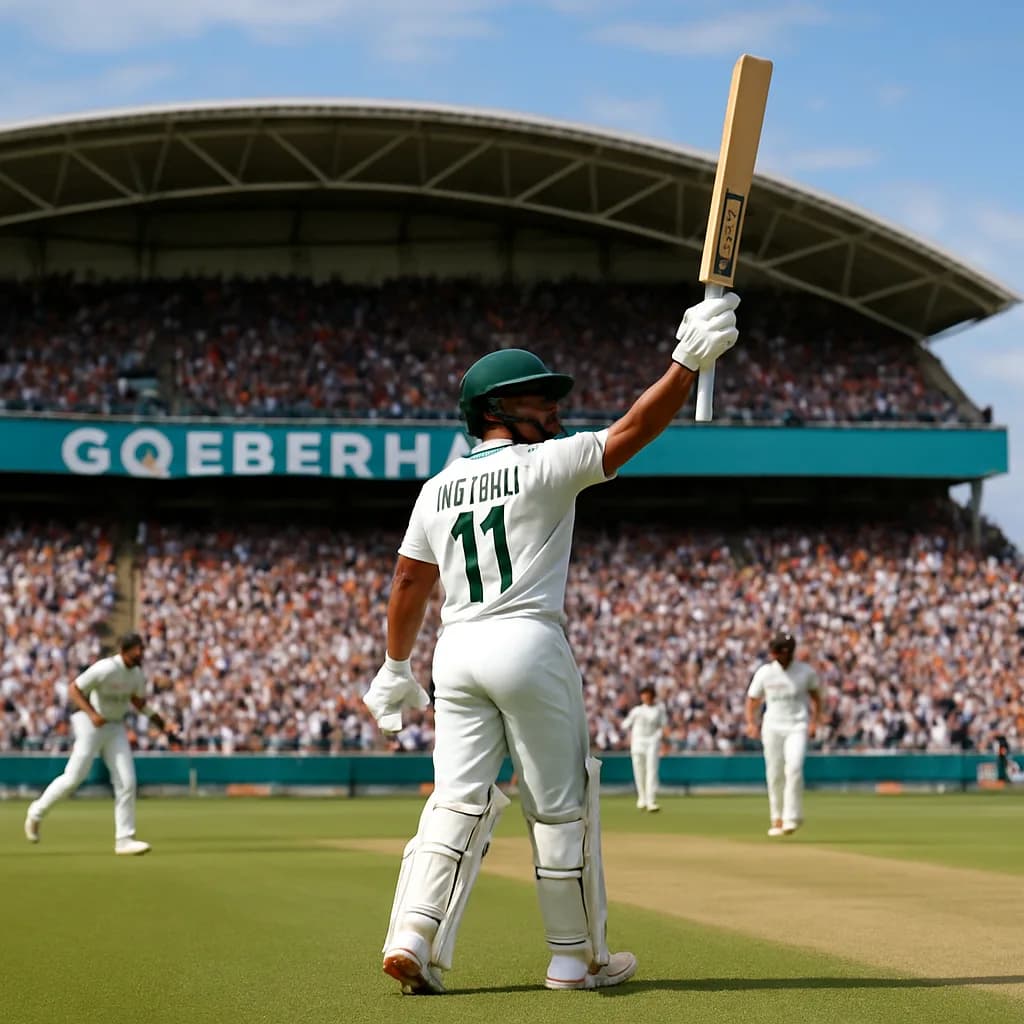
Representative image for illustration
South Africa seized control on day three of the second Test in Gqeberha, led by captain Temba Bavuma’s standout century and a potent home attack that left Australia trailing by 422 runs at stumps. Bavuma’s century and Scott Boland’s continued swing shifted momentum decisively to the Proteas, leaving Australia on the back foot and the series set up for a tense middle day.
The match’s pivotal numbers are simple and stark. Australia were 422 runs behind when stumps were drawn on day three, according to the local match recap, a deficit that transforms how the visitors must think about batting time and risk the next day [https://www.citizen.co.za/sport/cricket/south-africa-australia-second-test-day-three-highlights/]. Video highlights and match clips capture key moments of Bavuma’s century and the late wickets, which together explain why the scoreboard kept tilting South Africa’s way [https://www.skysports.com/cricket/video/13601479/south-africa-vs-australia-second-test-day-three-highlights].
How the match unfolded on day three: scoreboard, moments, and context
Day three opened with both sides aware that a single big partnership or quick collapse would reshape the Test. South Africa’s batting depth and intent on that day produced the decisive scoreboard swing. When stumps were drawn, the published local recap recorded Australia trailing by 422 in their first innings, a number that compresses outsized pressure into a single, actionable figure for captains and selectors [https://www.citizen.co.za/sport/cricket/south-africa-australia-second-test-day-three-highlights/].
Highlights packages from broadcasters collected the turning points: Bavuma’s steady accumulation, a lower-order flourish, and a handful of Australian wickets falling at critical times [https://www.skysports.com/cricket/video/13601479/south-africa-vs-australia-second-test-day-three-highlights]. The clips show a mix of patient defence and selective aggression from the Proteas, and a visiting bowling attack that could not sustain consistent pressure across long spells. Short clips and a full-day video reel from an independent streamer also preserve the tempo of the session that placed South Africa in command [https://www.codesports.com.au/cricket/rsa-vs-aus-test-2-day-3-highlights/video/027e68c067df5b3fafbf7c80df159dad].
The scoreboard forces a tactical choice: grind out a long defensive innings or take calculated risks to reduce the deficit quickly. Either path carries trade-offs. Grinding reduces the chance of a follow-on but prolongs batting exposure to tired bowlers. Risking quick runs reduces the deficit but increases the chance of a collapse.
Temba Bavuma’s innings and why it mattered
Temba Bavuma produced the day’s signature performance with a century that anchored the South African innings, a milestone repeatedly highlighted by reputable outlets covering the game [https://www.theaustralian.com.au/sport/cricket/moments-you-missed-on-day-three-bavumas-ton-starcs-milestone-boland-keeps-it-up/news-story/c765e1e63aa624a7e76260951b8e1c8f]. Bavuma’s century did more than add runs. As captain, he timed his aggression and defence to blunt Australia’s primary plans and to accelerate the innings when the bowlers tired.
A captain’s century changes the dressing-room dynamic in two clear ways. First, it stabilises the top order, converting what might have been a tense middle session into a platform for late partnerships. Second, it forces the opposition captain to reshuffle fields and bowling changes earlier than planned. Video highlights capture Bavuma cutting loose at intervals and defending deeply at others, which lifted the innings’ strike-rate when conditions suited [https://www.skysports.com/cricket/video/13601479/south-africa-vs-australia-second-test-day-three-highlights].
In those conditions, a captain’s century typically signals the hosts will consider an earlier declaration, especially with a 422-run advantage. That choice complicates the touring side’s planning for the next two days.
Scott Boland, the bowling story and Australian struggles
Scott Boland’s continued good form and a five-wicket presence in the attack kept South Africa in the contest earlier in the series and was again a talking point during day three coverage, with commentators and journalists flagging his influence on previous matches and on the visitors’ worries [https://www.foxsports.com.au/cricket/australia-v-south-africa-2026-second-test-day-three-talking-points-temba-bavuma-careerbest-century-scott-boland-fivewicket-haul-poor-aussie-bowling-display-latest-news-video-highlights/news-story/494a09479d7388ea4ea018a9e77d88ee]. Fox Sports specifically described Boland’s capacity to make the ball behave and how that kind of bowling forces batsmen to change their approach.
Australia’s day was also framed by questions over their bowling consistency and a reported illness affecting a key seamer, which commentators suggested hampered rotation and stamina across long sessions [https://www.foxsports.com.au/cricket/have-the-aussies-copped-the-raw-prawn-proteas-punish-ailing-attack-as-cause-for-hazlewoods-illness-is-revealed/news-story/9794321924d02ac3b9fcfdc030b47783]. Trade-offs show here: play a frontline seamer even if wary of fitness, or protect the bowler and risk reduced penetration. The match footage shows several close calls and one or two missed lines that, cumulatively, allowed South Africa’s middle and lower order to grow the lead [https://www.codesports.com.au/cricket/rsa-vs-aus-test-2-day-3-highlights/video/027e68c067df5b3fafbf7c80df159dad].
A specific tactical consequence: with bowlers under pressure and the tourists trailing by 422, captain Pat Cummins or his stand-in must decide whether to attack with short, aggressive spells to force wickets or to bowl long, probing spells that might concede time and runs. Either choice carries immediate series implications.
Selection and tactical implications for both teams going forward
The on-field events of day three immediately change selection and tactical pressure. For South Africa, Bavuma’s century gives the selectors a clear leader to back; for Australia, the batting order and fitness of seamers now face scrutiny in media reports [https://www.citizen.co.za/sport/cricket/south-africa-australia-second-test-day-three-highlights/], [https://www.foxsports.com.au/cricket/australia/australia-v-south-africa-2026-second-test-day-three-talking-points-team-news-for-gqeberha-test-aussie-batting-order-poor-crowds-in-south-africa-latest-news-video-highlights/news-story/55e03a7ab701dadd19c31354f7b2b3ea].
A concrete scenario: if an Australian seamer is reported ill or hampered, the team can either press a reserve quick into a long Test workload or reshuffle to include an extra spinner to manage overs. That choice trades immediate bowling variety for either endurance or control. Fox Sports’ reporting on player fitness and squad management frames this as a live selection dilemma with potential long-term effects for the series [https://www.foxsports.com.au/cricket/have-the-aussies-copped-the-raw-prawn-proteas-punish-ailing-attack-as-cause-for-hazlewoods-illness-is-revealed/news-story/9794321924d02ac3b9fcfdc030b47783].
For the tourists, the immediate fix is tactical rather than rostered: alter batting approach to soak overs without losing wickets, or take the initiative and risk a collapse. That trade-off will determine whether Australia can turn a 422-run deficit into a salvageable position.
What to watch next and a practical takeaway for fans
Watch how both captains use the new ball on day four, and whether Australia’s top order chooses consolidation or aggression against a buoyant South African attack. The decisive indicators for the remainder of the Test will be the rate at which Australia loses or accumulates runs early in their reply, and whether any bowler’s fitness forces late changes to lines and lengths [https://www.skysports.com/cricket/video/13601479/south-africa-vs-australia-second-test-day-three-highlights].
If you follow the match live, watch the new-ball sessions and the first hour after lunch, when wickets often fall in Gqeberha. Track Bavuma’s batting position as an early sign of South Africa’s declaration plans. Use the highlights reels to spot the bowling angles that troubled batters on day three and compare those to the first spells on day four to judge whether fatigue or skill is deciding the game [https://www.codesports.com.au/cricket/rsa-vs-aus-test-2-day-3-highlights/video/027e68c067df5b3fafbf7c80df159dad].
Day three tilted the Test firmly toward South Africa through measurable events: a captain’s century and a visiting attack that could not stop the runs. Expect selection chatter, tactical shuffles, and a sharper, risk-weighted strategy from Australia over the next session.
Comments (0)
No comments yet. Be the first to share your thoughts!